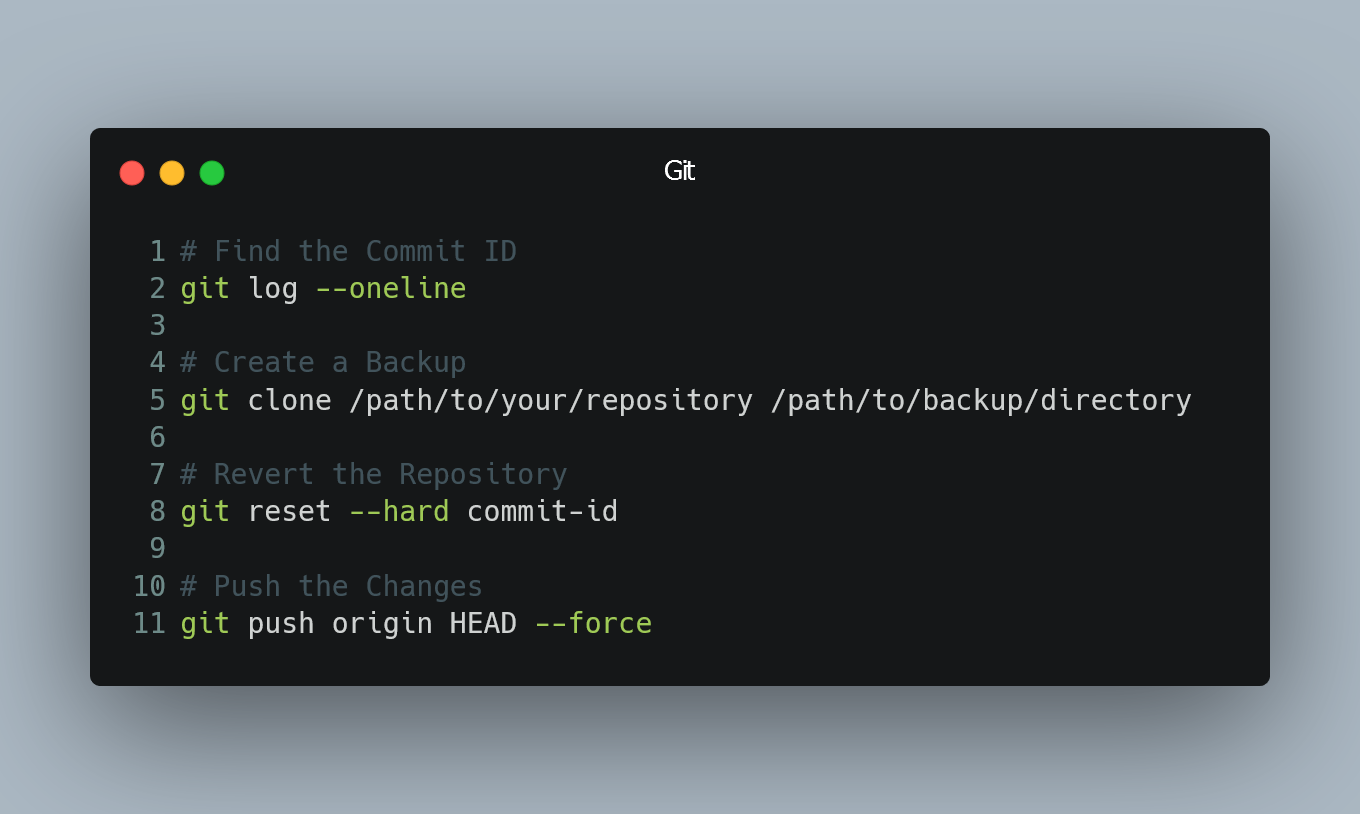
To revert a Git repository to a previous commit, follow these steps:
1. Find the Commit ID
First, you need to identify the commit you want to revert to. To view the commit history and the corresponding commit IDs, use the following command:
git log --oneline
This will display a list of commits with their abbreviated commit IDs and commit messages, allowing you to find the specific commit you want to revert to.
2. Create a Backup (Optional but Recommended)
Before performing any revert, it's wise to create a backup of your current state in case anything goes wrong. This step is optional but can be valuable if you need to revert the revert. You can create a backup by cloning your repository to a new directory:
git clone /path/to/your/repository /path/to/backup/directory
3. Revert the Repository
To revert your repository to a previous commit, use the following command:
git reset --hard commit-id
Replace commit-id with the commit ID of the desired commit you want to revert to. The --hard option resets both the staging area and working directory to match the specified commit.
4. Push the Changes (Optional)
If your repository is remote and you want to apply the revert to the remote repository, you need to force push the changes. Be cautious when using force push, as it can overwrite history and cause conflicts for other collaborators. Use the following command to force push:
git push origin HEAD --force
The --force or -f option is necessary to override the remote branch's history.
5. Check the Reverted State
After the revert and, if applicable, the force push, your repository should be reverted to the state of the chosen commit. Use git log --oneline again to verify that the repository is now at the intended commit.
Please note that when you perform a revert, the changes introduced in the reverted commit will be removed from the history, effectively undoing those changes. If you want to keep the changes but in a new commit, you might consider using git revert instead of git reset.
0 Comment

