

To check out a remote Git branch and start working on it, follow these steps:
1. View Available Remote Branches
Before checking out a remote branch, it's a good practice to see the list of available remote branches. To do this, use the following command:
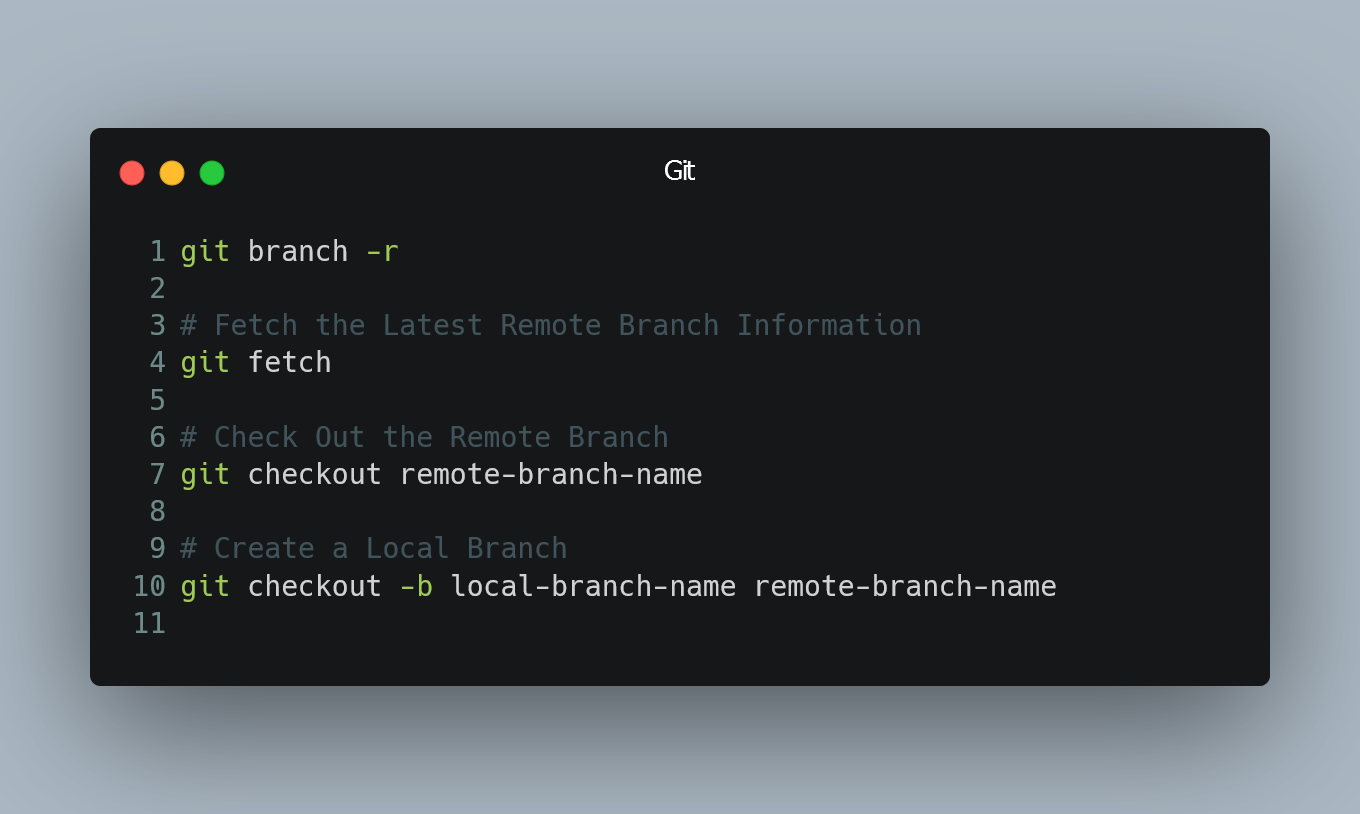
git branch -r
This will display a list of remote branches prefixed with "origin/" or the name of the remote repository you are connected to.
2. Fetch the Latest Remote Branch Information
To make sure you have the latest information about remote branches, run the following command:
git fetch
This command will retrieve information about the remote branches without making any changes to your working directory.
3. Check Out the Remote Branch
Once you have fetched the latest remote branch information, you can check out the remote branch and start working on it using the following command:
git checkout remote-branch-name
Replace remote-branch-name with the name of the remote branch you want to check out. Note that this command creates a local copy of the remote branch, allowing you to work on it independently.
4. Create a Local Branch (Optional)
If you prefer to work on the remote branch in a new local branch (which is a common practice), you can create a local branch and check it out simultaneously using the following command:
git checkout -b local-branch-name remote-branch-name
Replace local-branch-name with the desired name for your new local branch, and remote-branch-name with the name of the remote branch you want to track.
5. Start Working on the Branch
Now that you have checked out the remote branch (either directly or in a new local branch), you can start making changes, committing them locally, and pushing them to the remote repository when ready.
Remember to use git pull to sync your local branch with the remote branch regularly and git push to push your changes to the remote repository.
0 Comment