

This feature is particularly useful when dealing with variable text lengths and screen sizes.
Step 1: Set Up Your Project
Create a new Android project in Android Studio or open an existing one.
Step 2: Use AppCompat Library
Make sure your project's build.gradle file includes the AppCompat library in the dependencies:
implementation 'androidx.appcompat:appcompat:1.4.0'
Step 3: Replace TextView with AppCompatTextView
Replace the standard TextView in your layout XML with AppCompatTextView to enable auto-sizing:
Step 4: Set Auto-Sizing Attributes
The AppCompatTextView uses attributes such as autoSizeTextType, autoSizeMinTextSize, autoSizeMaxTextSize, and autoSizeStepGranularity to control auto-sizing behavior.
-
autoSizeTextType: Determines the auto-sizing strategy. Use "uniform" for even text scaling or "none" for no auto-sizing. -
autoSizeMinTextSize: Specifies the minimum text size allowed. -
autoSizeMaxTextSize: Specifies the maximum text size allowed. -
autoSizeStepGranularity: Defines the increment used for scaling text size.
Step 5: Test and Adjust
Run your app on different devices or emulators with varying screen sizes and dynamic text lengths. Observe how the TextViews automatically adjust text size to fit within their boundaries.
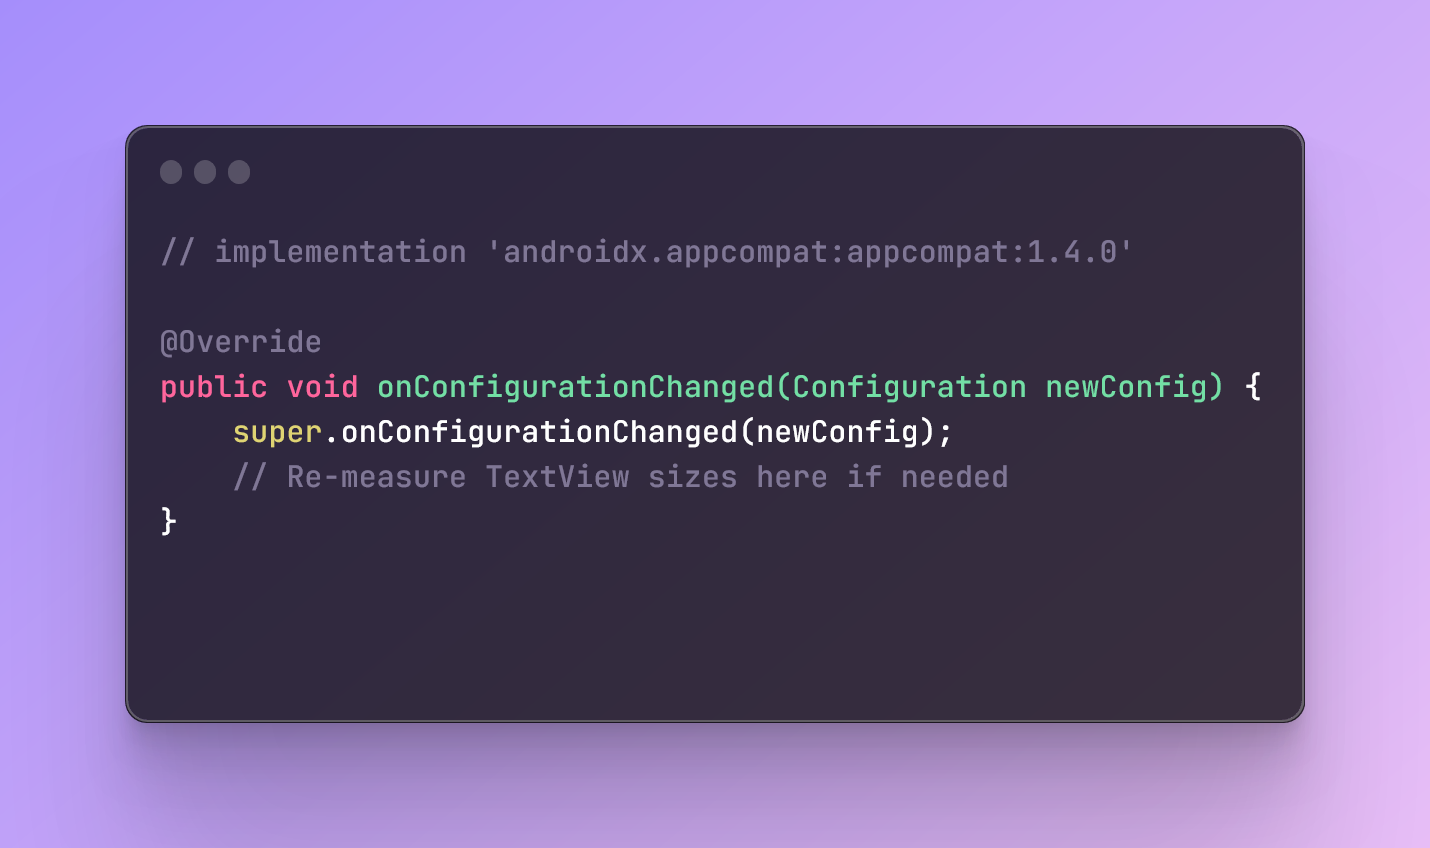
Step 6: Handle Configuration Changes
In some cases, configuration changes (e.g., orientation change) may require re-measuring and adjusting TextView sizes. You can handle this in your activity or fragment's onConfigurationChanged method:
@Override
public void onConfigurationChanged(Configuration newConfig) {
    super.onConfigurationChanged(newConfig);
    // Re-measure TextView sizes here if needed
}
0 Comment