

NestJS provides a built-in logging service that allows you to log messages at different levels of severity. It helps you track and understand the flow of your application, making it easier to identify issues and troubleshoot problems.
Enabling Logging
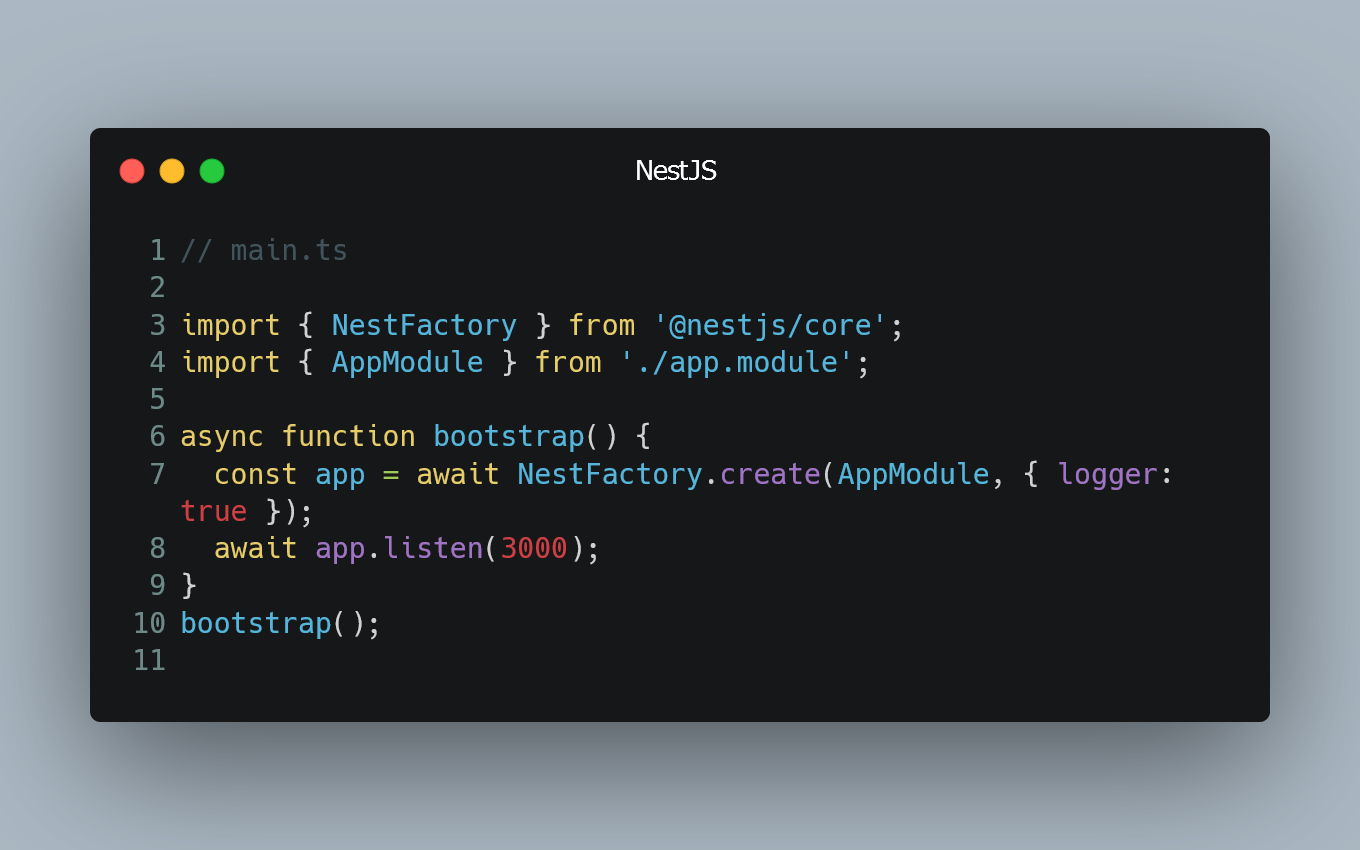
To enable the NestJS logging service, you need to set the logger property in the main.ts file.
// main.ts

import { NestFactory } from '@nestjs/core';
import { AppModule } from './app.module';

async function bootstrap() {
  const app = await NestFactory.create(AppModule, { logger: true });
  await app.listen(3000);
}
bootstrap();
In this example, we set logger: true when creating the NestJS application. This will enable the logging service for your entire application.
Logging Messages
With the logging service enabled, you can use it to log messages at different log levels throughout your application. The available log levels are:
-
log: General log messages -
error: Errors and exceptions -
warn: Warnings -
debug: Debugging information -
verbose: Detailed information
You can access the logger instance using the Logger class provided by NestJS.
// app.controller.ts

import { Controller, Get, Logger } from '@nestjs/common';

@Controller()
export class AppController {
  private readonly logger = new Logger(AppController.name);

  @Get()
  getHello() {
    this.logger.log('This is a log message.');
    this.logger.error('This is an error message.');
    this.logger.warn('This is a warning message.');
    this.logger.debug('This is a debug message.');
    this.logger.verbose('This is a verbose message.');

    return 'Hello World!';
  }
}
In this example, we import the Logger class from @nestjs/common and create an instance of it in the AppController. We use different log methods to log messages at different levels.
Customizing Log Levels
If you want to customize the log levels or configure additional options for the logging service, you can pass a custom logger instance when creating the application.
// main.ts

import { NestFactory } from '@nestjs/core';
import { AppModule } from './app.module';
import { MyLogger } from './my-logger';

async function bootstrap() {
  const app = await NestFactory.create(AppModule, { logger: new MyLogger() });
  await app.listen(3000);
}
bootstrap();
In this example, we use a custom logger class named MyLogger, which extends the NestJS Logger class. This allows you to customize the logger behavior as per your requirements.
0 Comment