

You can dynamically change an element's class using JavaScript to apply different styles or behavior based on certain events or conditions.
#1. Accessing the Element
First, you need to access the HTML element you want to change the class of. You can use various methods to select the element, such as getElementById(), getElementsByClassName(), querySelector(), or querySelectorAll().
<!DOCTYPE html>
<html>
<head>
  <title>Change Element's Class</title>
  <style>
    .original {
      color: blue;
    }
    .modified {
      color: red;
      font-weight: bold;
    }
  </style>
</head>
<body>
  <p id="myElement" class="original">This is a paragraph element.</p>
  <button onclick="changeClass()">Change Class</button>

  <script>
    // Step 1: Access the element
    const myElement = document.getElementById("myElement");

    // Step 2: Define the function to change the class
    function changeClass() {
      // Step 3: Change the class
      myElement.classList.toggle("modified");
    }
  </script>
</body>
</html>
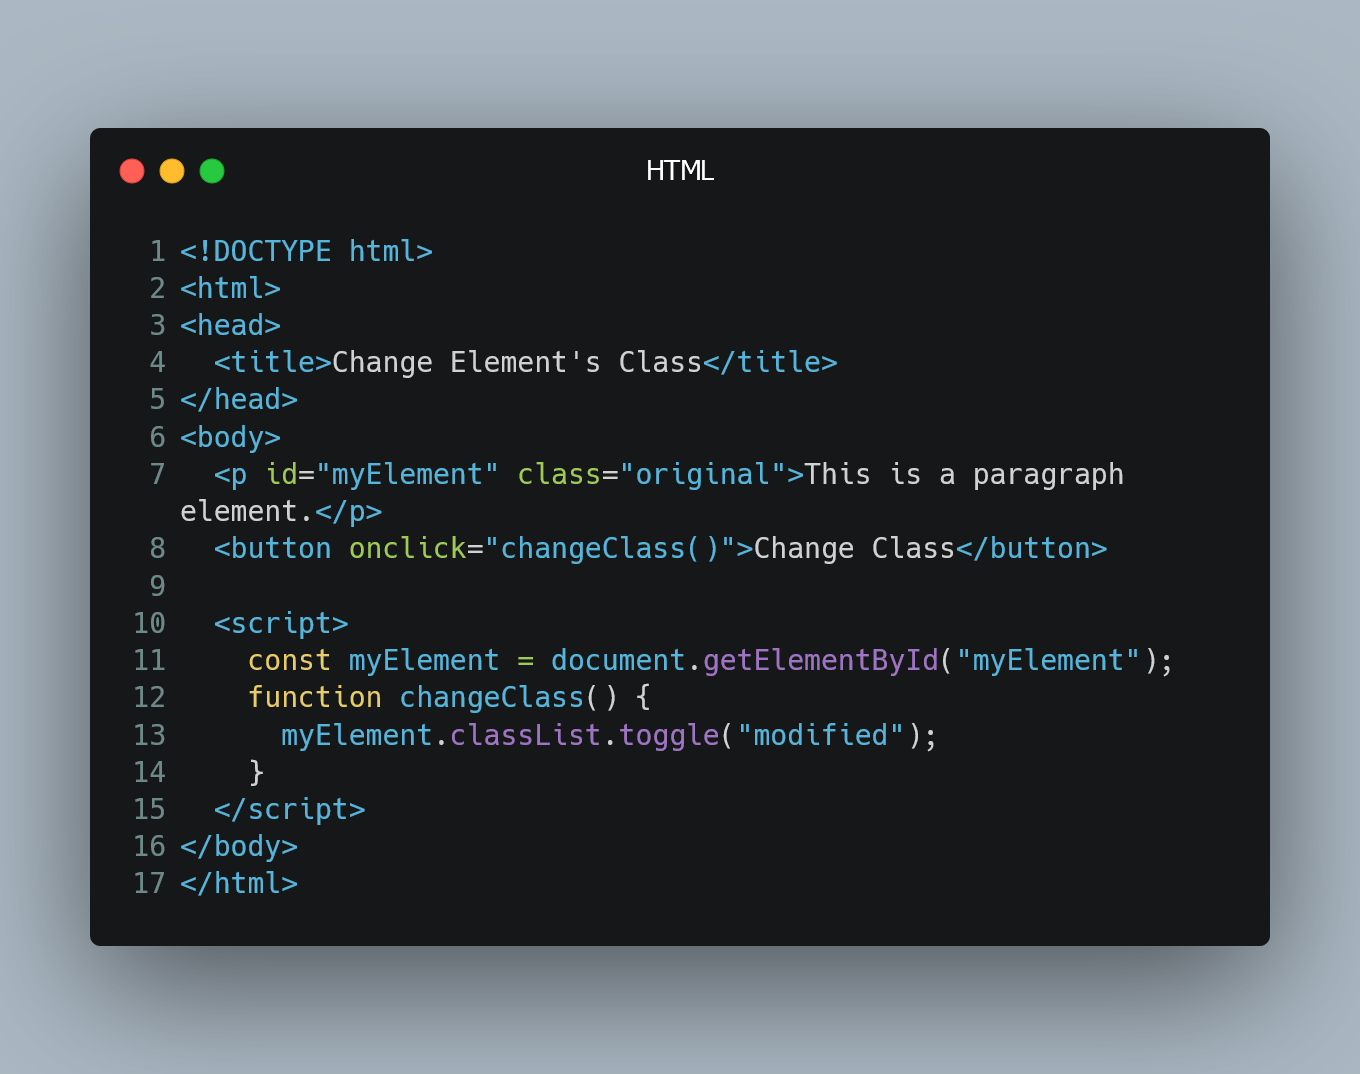
In this example, we have a paragraph element with the id="myElement" and an initial class of "original". The <button> element triggers the JavaScript function changeClass() when clicked.
#2. Defining the Function
Next, define the JavaScript function that will change the class of the element. In this case, we named the function changeClass().
#3. Changing the Class
Inside the function, you can use the classList property of the element to add, remove, or toggle classes. In this example, we use the classList.toggle() method to toggle between the classes "original" and "modified". When the button is clicked, the paragraph element will switch its class, and the styles specified for each class will be applied accordingly.
0 Comment